The fade is the latest style trend that every barber needs to know. Industry expert, Andrew Kozlov, Creative Director of Men’s Grooming Ireland shares his secrets to how to clipper fade, creating this easy 10-step guide to creating the perfect fade.
If you would like to learn how to clipper fade in person with Andrew, book on to one of his one-day small-group clipper fade courses in Dublin – you will receive individualized one-to-one coaching and hands-on training so you can confidently recreate any fade style in your own workplace.
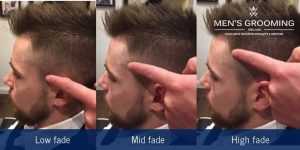
The first step in knowing how to clipper fade is to know your different fade styles. There are three different heights of fades:
The choice of fade will depend upon your client’s wishes but also on their head shape and bone structure.
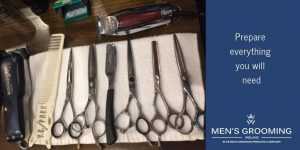
Have everything you will need to hand. We used a Wahl Senior cordless clipper and a Wahl Detailer:
0 blade, ½ blade, 1 ½ blade
Scissors and comb
Straight blade
Neck brush and talcum powder
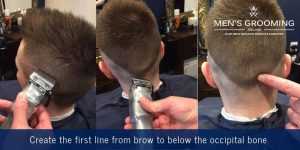
Using a 0 blade, create the first, lowest line. This should run from temple – depending upon the height of fade chosen – to below the occipital bone that sticks out at the back of the head. Even if your client has a very low occipital prominence, the first fade line must run below the bone, otherwise the bone will appear to protrude. Now shave everything away below this line with your blade.
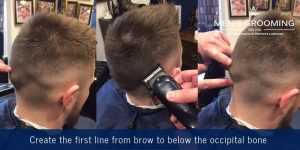
With your number 1 blade, create the second, higher line. This line should run from the temple to just above the occipital bone at the back of the head. Now shave everything away below this line with your number 1 blade, creating a shorter shadow between the two lines.
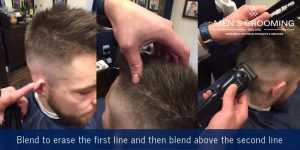
Using a ½ blade, now start to blend the first line created into the shadow section so that the line is taken off.
Using 1 ½ blade, now begin to blend in the second line. Be careful not to blend above this line as you will be entering the section where the hair needs to be kept longer.
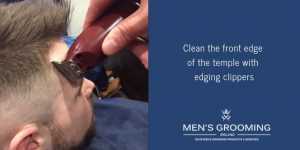
Clean the front edge of the temple with edging clippers. After you have done this, you will be able to exactly see where you have created the fade.

Using a comb and scissors at this point allows you to really control your blending. You want to start nice and short around the top fade line and cut to longer as you enter the longer hair, square section at the top of the head. Trim to whatever length is desired on top.
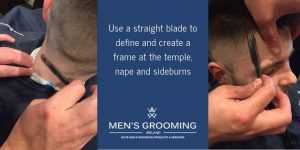
Using a straight blade allows you to create a frame at the temple, at the nape of the neck and into the side burns.
Finish with a dusting brush and talcum powder at the end to clean away any left over hairs. Show your client his finished fade!

To learn how to fade with one of the best barbers in Dublin, book your place now on our Clipper Fading course in Dublin – suitable for barbers and hairdressers with 1 year+ experience – and learn:
All training courses offered by Men’s Grooming Ireland guarantee: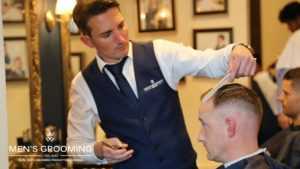
For more information or to book one of our courses, contact info@mensgrooming.ie or call 01 288 2070.